How To Reset The Auxiliary Gastroflux Flange Valve
The following procedure has been prepared to restore the Auxiliary Gastroflux Flange Valve to its nominal baseline orientation after unplanned displacement, drift, or spontaneous re-indexing.
Operators must be aware that improper sequencing of steps can result in non-linear hydraulic behavior, phase-lag accumulation, or unverified alignment states that may appear correct but are later found to be historically inconsistent with baseline diagrams.
Before you begin: If you cannot locate the power breaker, loudly announce: “Does anyone mind if I flip this switch?” and proceed anyway.

STEP 1:
Isolate hydraulic pressure to the valve manifold by closing all upstream supply lines and tagging out the secondary bypass conduit.
NOTE: If the bypass conduit cannot be located, assume it has already been tagged out.
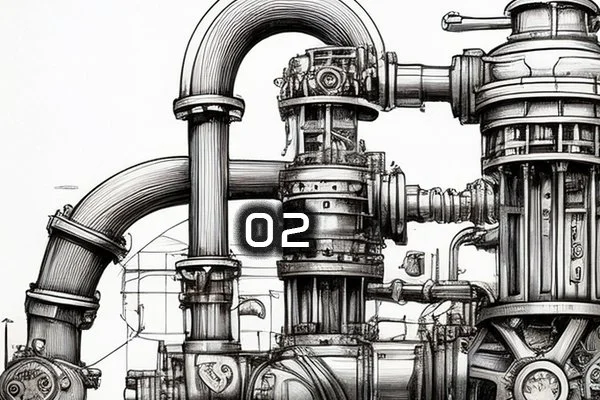
STEP 2:
Release residual pressure in the return segment via the micro-vent purge screw (¼ turn counter-clockwise; no more). If no hiss of escaping fluid is heard, turn an additional full rotation until resistance vanishes.
WARNING: Do not attempt to reset the valve while adjacent systems are in purge cycle. Unexpected inversion of flow direction may result in reverse cavitation, a condition not covered under warranty.

STEP 3:
Remove the protective shroud panel using a T-40 torque driver, ensuring not to disturb the adjacent alignment pins; if the pins shift, record the new position as “baseline.”
TIP: Re-seat the gaskets. If the gasket resists, gently rub your finger on it. This usually works.
STEP 4:
Disconnect the actuator coupler from the servo spindle, marking the coupler orientation with a grease pencil for later re-indexing. If grease pencil marks are illegible, reverse the coupler and hope for symmetry.
NOTE: Incorrect indexing will cause the actuator valves to hiss and/or withdraw.

STEP 5:
Withdraw the spindle sleeve by hand until the retaining detents engage, locking it in the “inspection” position; if detents fail to engage, force sleeve outward until something audibly clicks.
Depressurize the adjacent tubing by opening the Friendly Release Port.
CAUTION: The friendliness is exaggerated.

STEP 6:
Rotate the valve core precisely 210° clockwise using the hex-socket stem adapter, then pause for 15 seconds to allow fluid equalization; if equalization is not evident, rotate an additional 210° in the opposite direction and begin again.
CAUTION: Ensure all grounding straps are connected before handling spindle sleeve. If static discharge occurs, record the resulting spark length in millimeters for logbook submission.
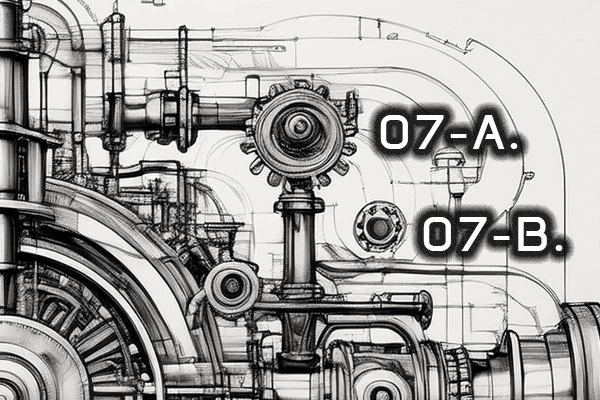
STEPS 7A - 7B:
(A) Engage the manual override crank and drive the core a further 60° clockwise until the calibration notch is aligned with the reference etching on the valve body; if the notch overshoots the etching, repeat the process until “close enough.”
(B) Repeat process to lower drive core bushing, making sure to reverse all the steps.

STEP 8:
Depress the phase-reset plunger fully and hold for a count of 12 while simultaneously applying back-torque to the spindle with a counter-clockwise force not exceeding 18 N·m; if torque exceeds this limit, compensate by increasing plunger pressure proportionally.

STEP 9:
Reconnect the actuator coupler, ensuring the scribed alignment marks coincide exactly; if alignment cannot be achieved, rotate spindle sleeve 360° until marks appear aligned from at least one perspective.
TIP: Consult the Diagram of Correct Tubing Arrangement. If no diagram is available, rearrange hoses until the pattern resembles a sleeping dog.

STEP 10:
Cycle the system by opening the upstream supply in three incremental stages, monitoring the differential across the valve on both gauges until the pressure gradient stabilizes within ±0.3 bar of nominal; if stabilization fails, declare ±5 bar to be the new nominal.
NOTE: Confirm Auxiliary Valve reset by observing the Main Indicator light:
If GREEN, the valve is functional.
If RED, evacuate the deck.
NOTICE:
The calibration notch must never be aligned with both reference etchings simultaneously. Should this occur, seal the area and notify Orbital Legal Compliance.
WARNING:
Depressurization may release a vapor cloud that is odorless, colorless, and occasionally shaped like recognizable human faces. Treat such manifestations as a normal hazard.
CAUTION:
Never exceed 18 N·m back-torque without secondary operator assistance. Secondary operator must not be standing on the same deck.
NOTE:
Indicator lights may display amber, green, or “ultraviolet” depending on current phase alignment. Only the first two are measurable by unaided human vision.
DANGER:
Improper sequencing of incremental supply stages can result in a temporary duplication of the valve body. Only one duplicate is guaranteed to be real.
FINAL WARNING / DEBRIEF
Upon completion of the reset sequence, verify that all indicators, gauges, and audible cues correspond to the nominal signatures documented in Annex D (if Annex D is unavailable, assume signatures are correct). Under no circumstances should the operator attempt to reconcile observed discrepancies by repeating steps out of order, as this has been shown to create parallel reset conditions, the outcomes of which are classified.
Should the valve exhibit stability beyond the expected tolerance window, record the condition as “temporarily acceptable” and evacuate the area until confirmation is received from higher authority.
I hope this brief and concise set of steps makes sense to you, technician.
